Setting up Scala IDE on OS X Mojave - Mac
Bringing It Into Here and Now
I love simple, easy to understand instructions. Few things give greater pleasure than just following some instructions, and then start to see the thing you made just work.
But - technology changes. If it didn’t, those of us in IT wouldn’t have jobs. So when I started learning how to do Apache Spark development, I followed the instructions at https://oleweidner.com/blog/2015/getting-started-with-spark-on-osx/ to get Apache Spark up and running on my Mojave based Mac.
But then it came to installing the Scala-IDE from http://scala-ide.org, and - I get this:
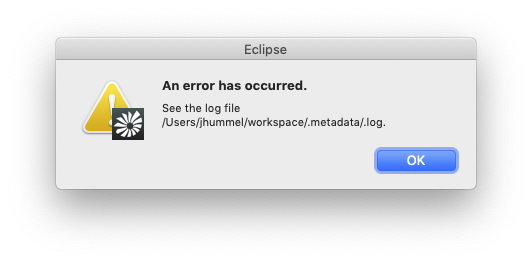
Well. That is not happiness. It took some time, but I figured out how to fix the error on Scala for Eclipse - and how to properly set up the Scala plugin on modern Eclispe (well, modern as of 2019 June 11th, anyway).
Install Java JDK 8
- ScalaIDE requires Java JDK 8. Right now, the rest of the world is running in Java JDK 12. So we’ll have to install that.
-
Easiest way to is through brew. There’s an OpenJDK available at https://github.com/AdoptOpenJDK/homebrew-openjdk. Install it with:
brew tap AdoptOpenJDK/openjdk brew cask install adoptopenjdk8- Note: You might see the error:
Error: Cask adoptopenjdk8 exists in multiple taps:If you do, use the following commands instead:
brew tap AdoptOpenJDK/openjdk brew cask install adoptopenjdk/openjdk/adoptopenjdk8 - Note: You might see the error:
- You’ll be prompted for an Administrator password. Enter it when prompted.
-
You can verify the installation worked with the command
/usr/libexec/java_home -V. This installs all of the Java versions on your system. You should see something like:Matching Java Virtual Machines (2): 11.0.2, x86_64: "Java SE 11.0.2" /Library/Java/JavaVirtualMachines/jdk-11.0.2.jdk/Contents/Home 1.8.0_212, x86_64: "AdoptOpenJDK 8" /Library/Java/JavaVirtualMachines/adoptopenjdk-8.jdk/Contents/Home
Installing and Fixing Scala-IDE Eclipse
By Scala-IDE Eclipse, we’re talking about the one from http://scala-ide.org. If you install it the usual Mac way (open the DMG file and copy the application to the /Applications folder), you’re going to get the error you see above.
Here’s the proper steps:
- Download ScalaIDE from http://scala-ide.org for Mac. As of this article, version 4.7.0 is available. It’ll download as a .zip file containing the Eclipse application.
- Open the zip file, then move application where you like (For example - Applications).
- Recommendation: Rename this from Eclipse to something like Eclipse-Scala.
- Open the ScalaIDE contents. The easiest way is to right click on the file, and select “Show Package Contents.”
- From within the ScalaIDE, enter the subdirectory Content->Eclipse, and open the file eclipse.ini.
-
Add the following lines before the line
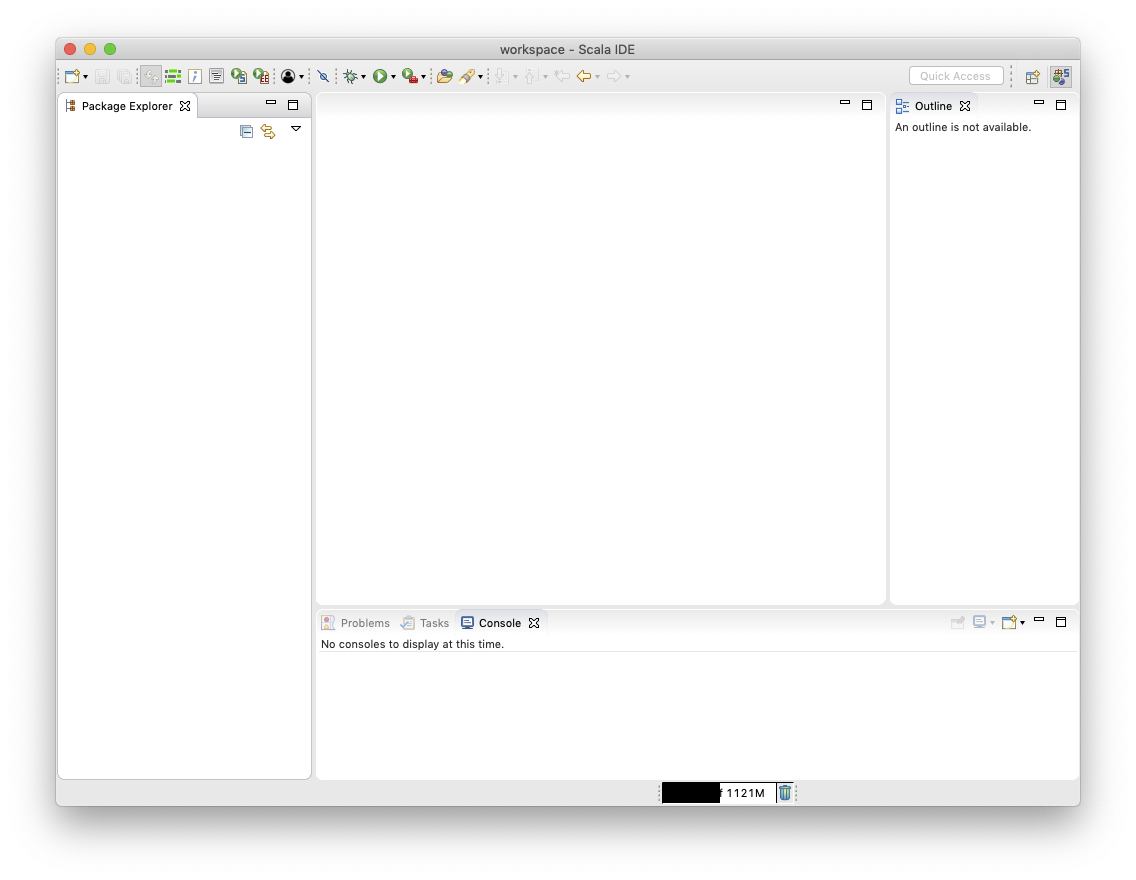
-vmargs:-vm /Library/Java/JavaVirtualMachines/adoptopenjdk-8.jdk/Contents/Home/bin/java - Run your new ScalaIDE, and you should have the success in life you have been looking for:
OK - So What Did We Do?
Unlike recipe blog sites, I prefer to put the instructions first, and then the explanation later - including the stories about how I learned this recipe from my beloved grandfather.
Sorry. Got distracted. The problem is by default, OS X Mojave has Java 11 installed. But the version of Eclipse working with Scala IDE needs JDK 8 to run. The easiest way to fix that is to install JDK 8, then specify the Java Virtual Machine by adding it to the eclipse.ini file.
We’re not out of the woods yet. Even though ScalaIDE is running, we still need to make sure it knows how to talk to the right Java JDK. Skip down to Configuring JDK in Eclipse to finish this up.
Configuring Eclipse JDK for Scala
All right. So far, so good. We have either Really Old or Really New Eclipse on our systems with the Scala plugins installed. Here’s the last thing to do: Configure our Java JDK for Eclipse.
Remember alllll the way back to the start of these instructions we installed Java JDK 8? I hope you remember, because this is not a long document but I did work on it to make it look all nice and useful. (You’re welcome, by the way.)
Last thing to do - tell Eclipse what JDK to use.
- From the command line, run:
/usr/libexec/java_home -VYou’ll get a result like the following:
Matching Java Virtual Machines (2): 11.0.2, x86_64: "Java SE 11.0.2" /Library/Java/JavaVirtualMachines/jdk-11.0.2.jdk/Contents/Home 1.8.0_212, x86_64: "AdoptOpenJDK 8" /Library/Java/JavaVirtualMachines/adoptopenjdk-8.jdk/Contents/Home - Copy the path for AdoptOpenJDK 8. You’ll need it in a moment.
- From within Eclipse, select
Eclipse->Preferences. - From within the settings, select
Java -> Installed JREs. Odds are, you’ll see just one - the default Java SE (Mojave’s default is Java SE 11).- Select “Add”, then set the JRE Type to
Standard VM. Select Next. - Set the JRE Home to the directory for our JDK 8, then give it a name (JDK 1.8 is a good idea).
- Select Finish.
- Select “Add”, then set the JRE Type to
- Optional: If you only want to use this JDK for all projects, set it as the default in the JRE list. Otherwise we can set it up manually.
Set up Scala Project
Last thing to do: Set up a Scala project. Just because we have the right JDK doesn’t mean we’re done. Let’s create a sample project so we know what to do:
- Select
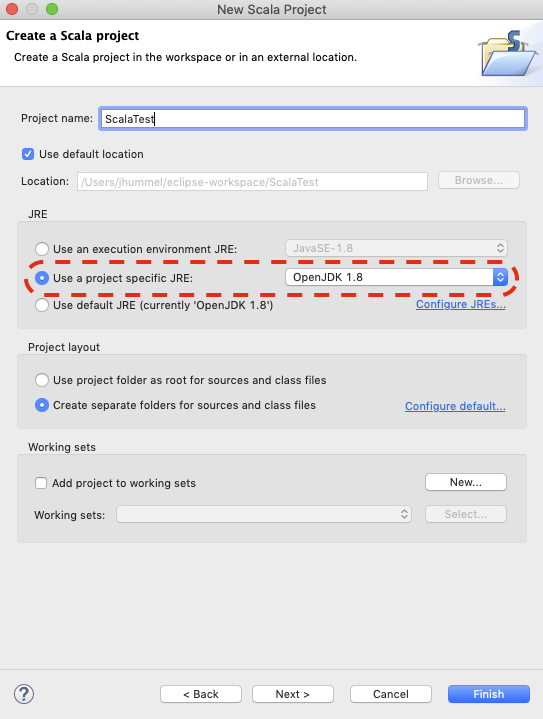
File->New->Project, then select fromScala Wizard -> Scala Project. -
Give it a name, and make sure you select the Java JDK 1.8. Save it. If requested, let it open the Scala perspective.
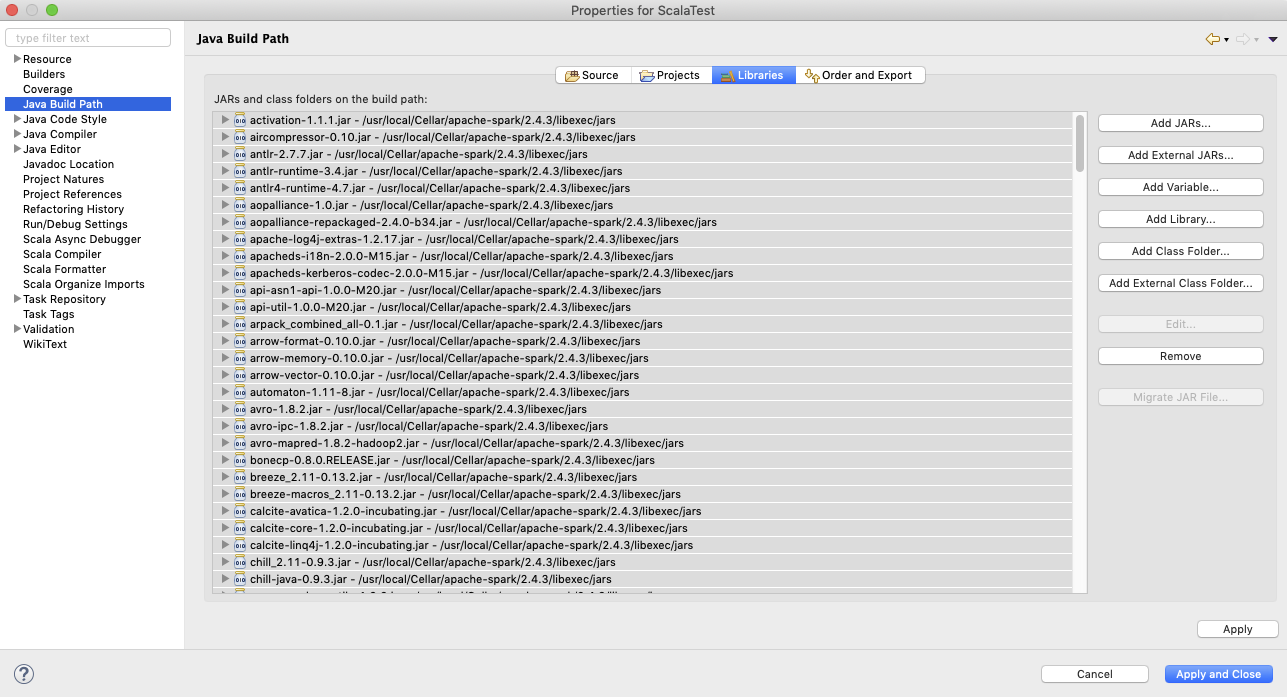
- Now, let’s set up our external JAR files for the project. Select from the menu
Project->Properties. - Select
Java Build Path, thenLibraries, thenAdd External Jars. Odds are, you’ll need the Apache Spark JAR files. If you followed the instructions from https://oleweidner.com/blog/2015/getting-started-with-spark-on-osx/ and installed via Homebrew, you’ll find the jar files you need at/usr/local/Cellar/apache-spark/2.4.3/libexec/jars(or whatever version you’re using), then select Apply. - Select the JAR files you need - which is probably going to be all of them, then select OK.
- There’s a good chance that the jar files that were selected aren’t going to be compatible with the actual version of the scala plugin - if you start getting errors that the jar files is cross-compiled with an incompatible version of Scala, go back into
Project->Properties, then selectScala Compiler. - Select
Use Project Settings, then set the correct version (odds are this will be 2.11).
That should be it! Start up a sample program, and you should be golden.